 Love dogs, but hate pee? I have the solution. It’s called a belly band and it’s for MALE dogs. Basically it’s this simple little “diaper” thing, that you make that velcros around their waist and covers up their man parts. This comes in handy if you have a little man that likes to mark his turf, if you know what i mean. Or if you have an older gent, who just can’t hold his water anymore. Works for that too.
Here’s how!
The Materials:
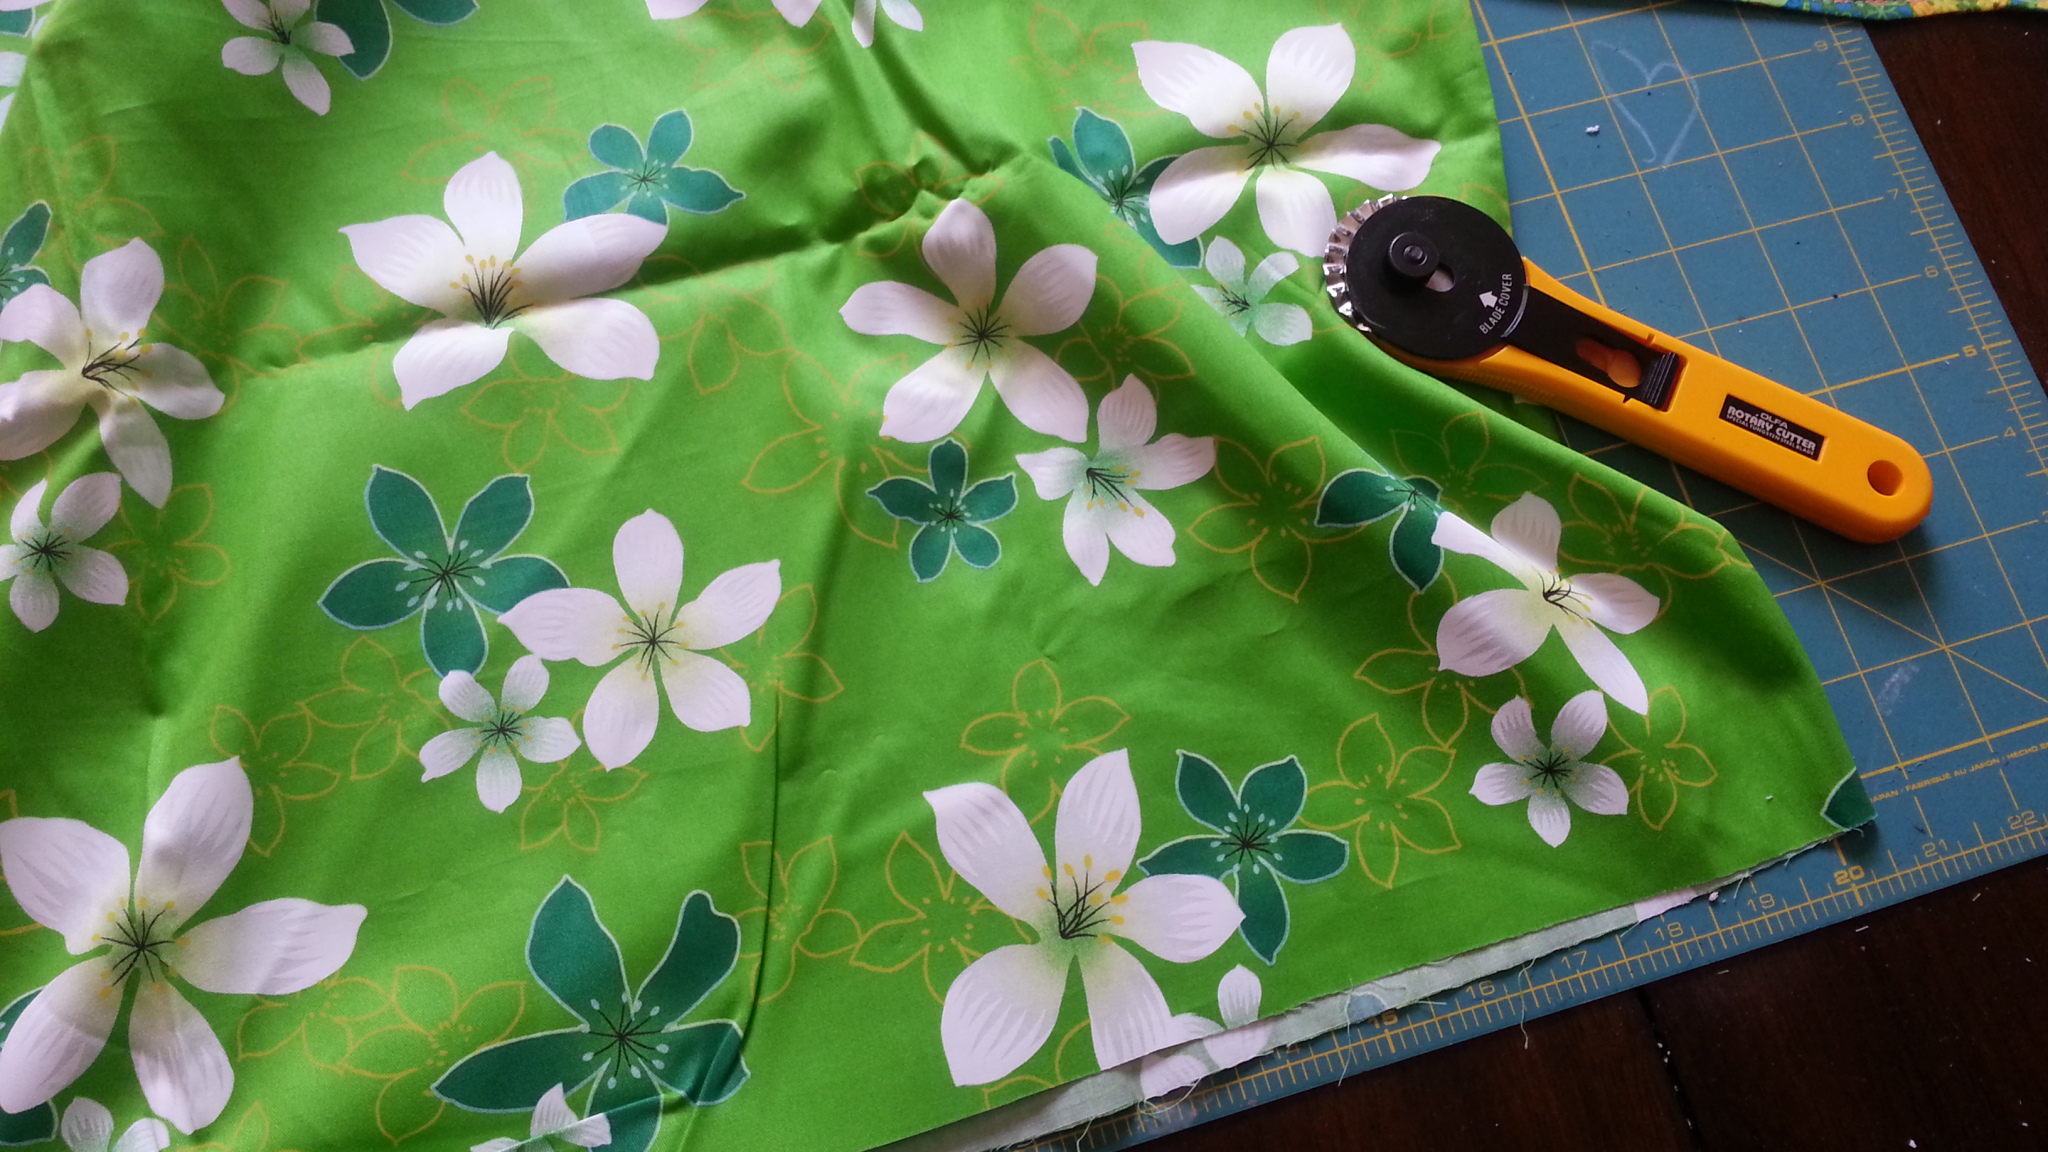
- Your fabric fabric print. Depending on the size of your dog, you can even buy as little as a fat quarter. Any material will work but softer cottons and flannels work best. I wouldn’t suggest something like silk or polyester. (Well maybe…if you’re doggies a diva.)
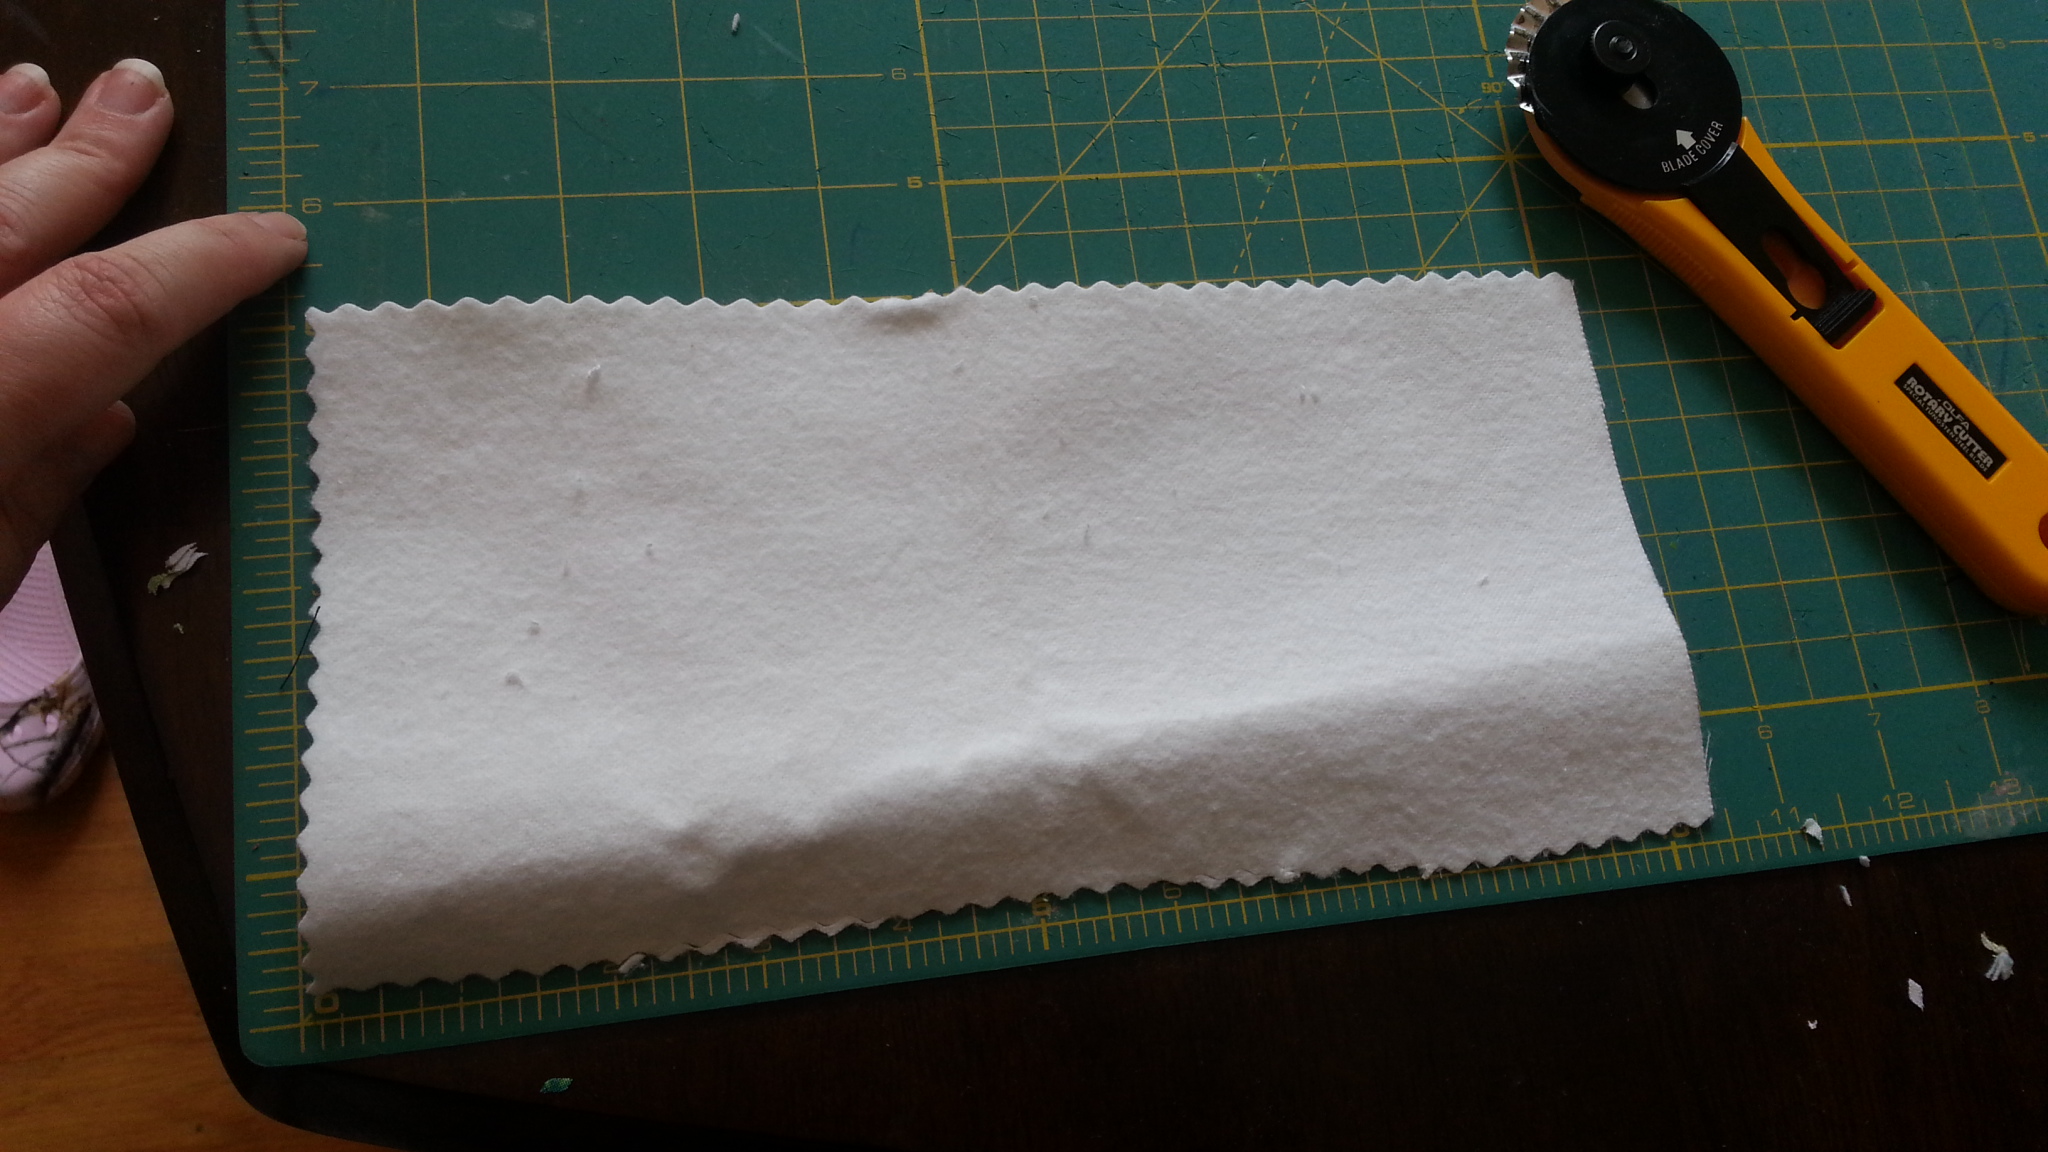
- PUL fabric. This is that magical water proof fabric people use in baby diapers and womans reusable sanitary pads. You’ll need a 10″x 6″ rectangle. (Or bigger if your pup was really blessed.)
- Velcro
- Sewing machine or lots of patience to hand sew.
Total cost: Less than 10 dollars.
Step 1:
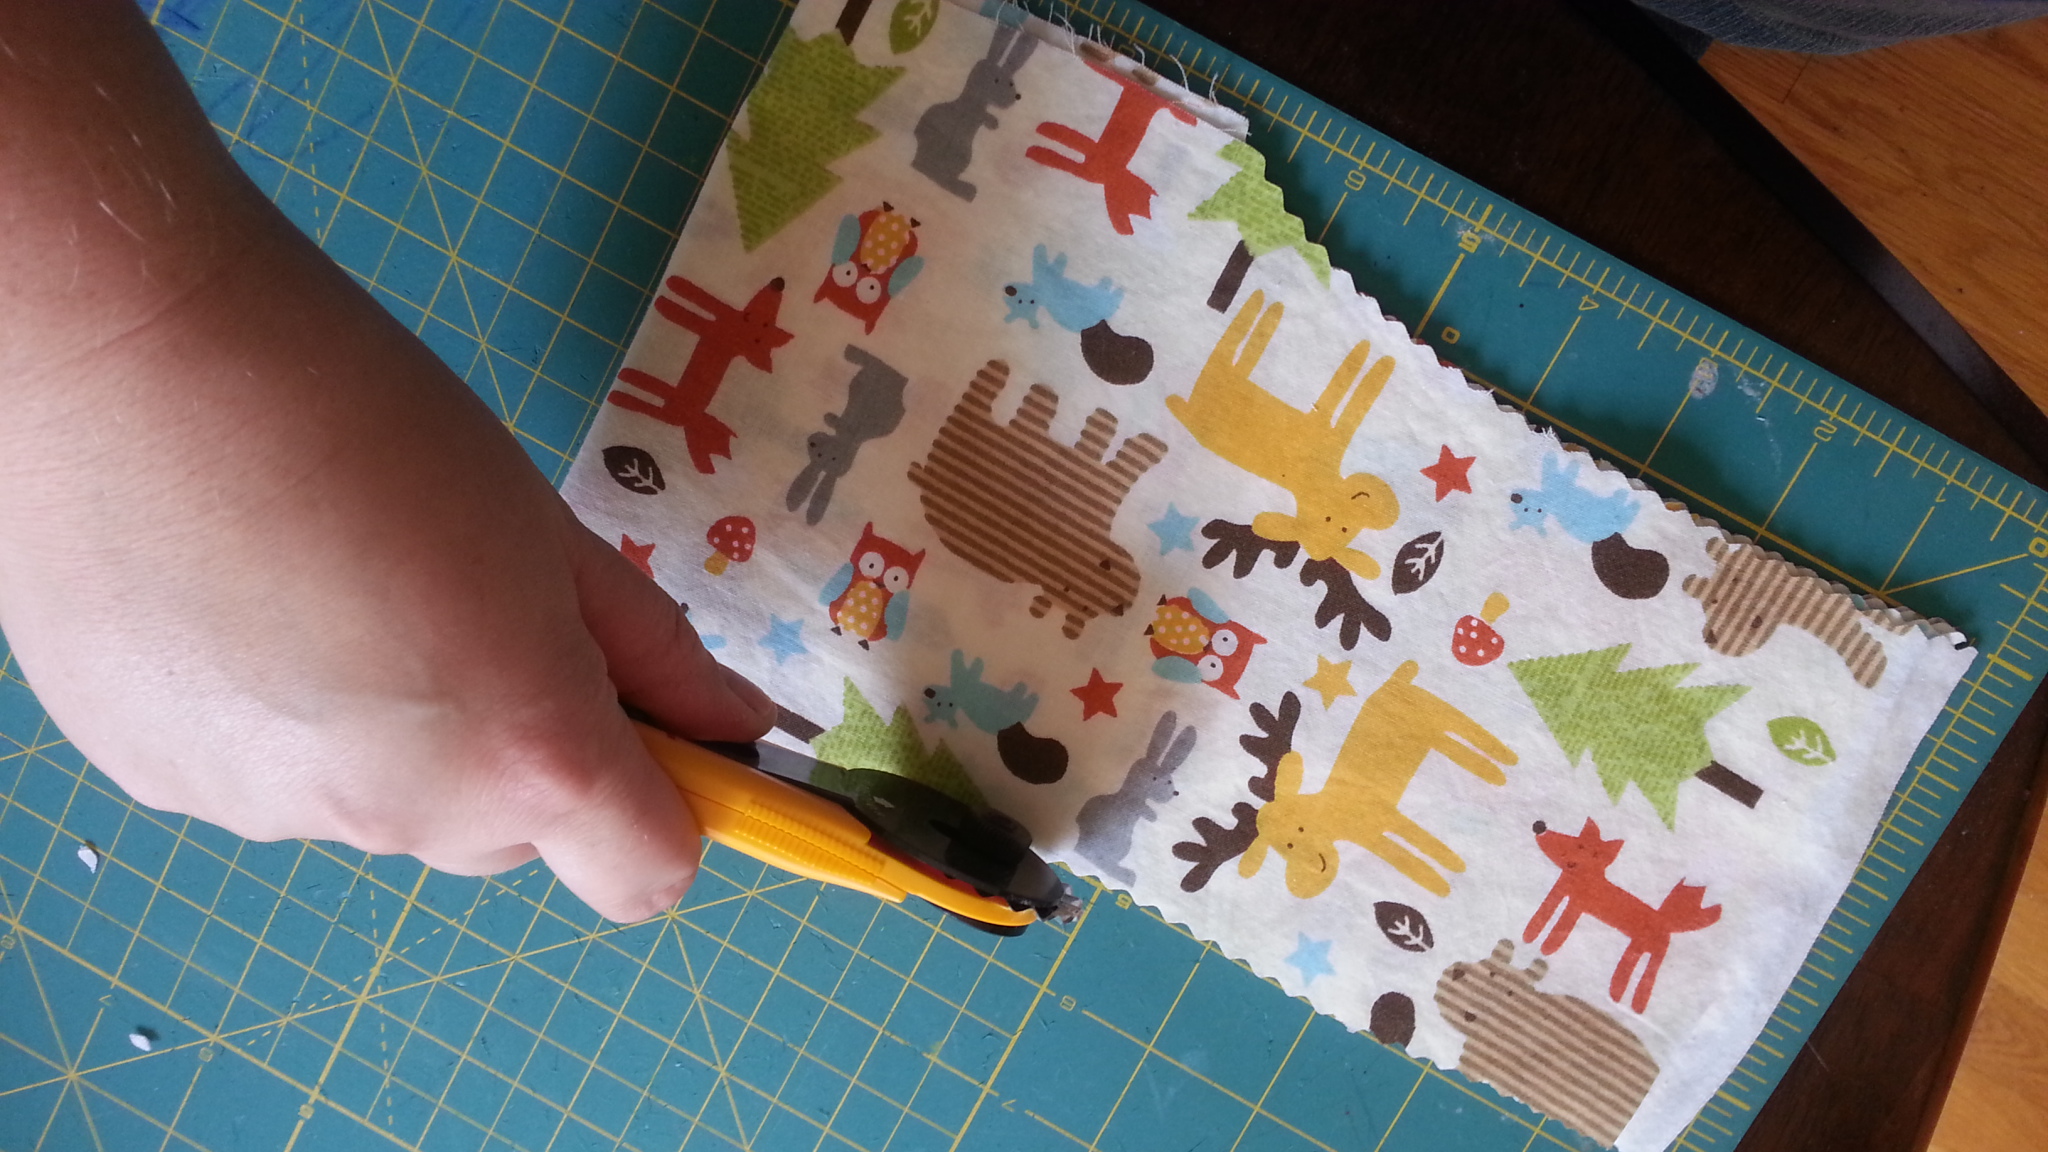
Cut the PUL fabric to size and the cotton/fleece fabric to size. To know what size you need, measure your pups waist (the area right in front of his back legs where his body is smallest. Be sure to make the PUL rectangle wide enough to cover his wonder stick and long enough to go about halfway up his sides. The cotton/fleece needs to be his waist measurement plus 4 inches.)
Step 2:
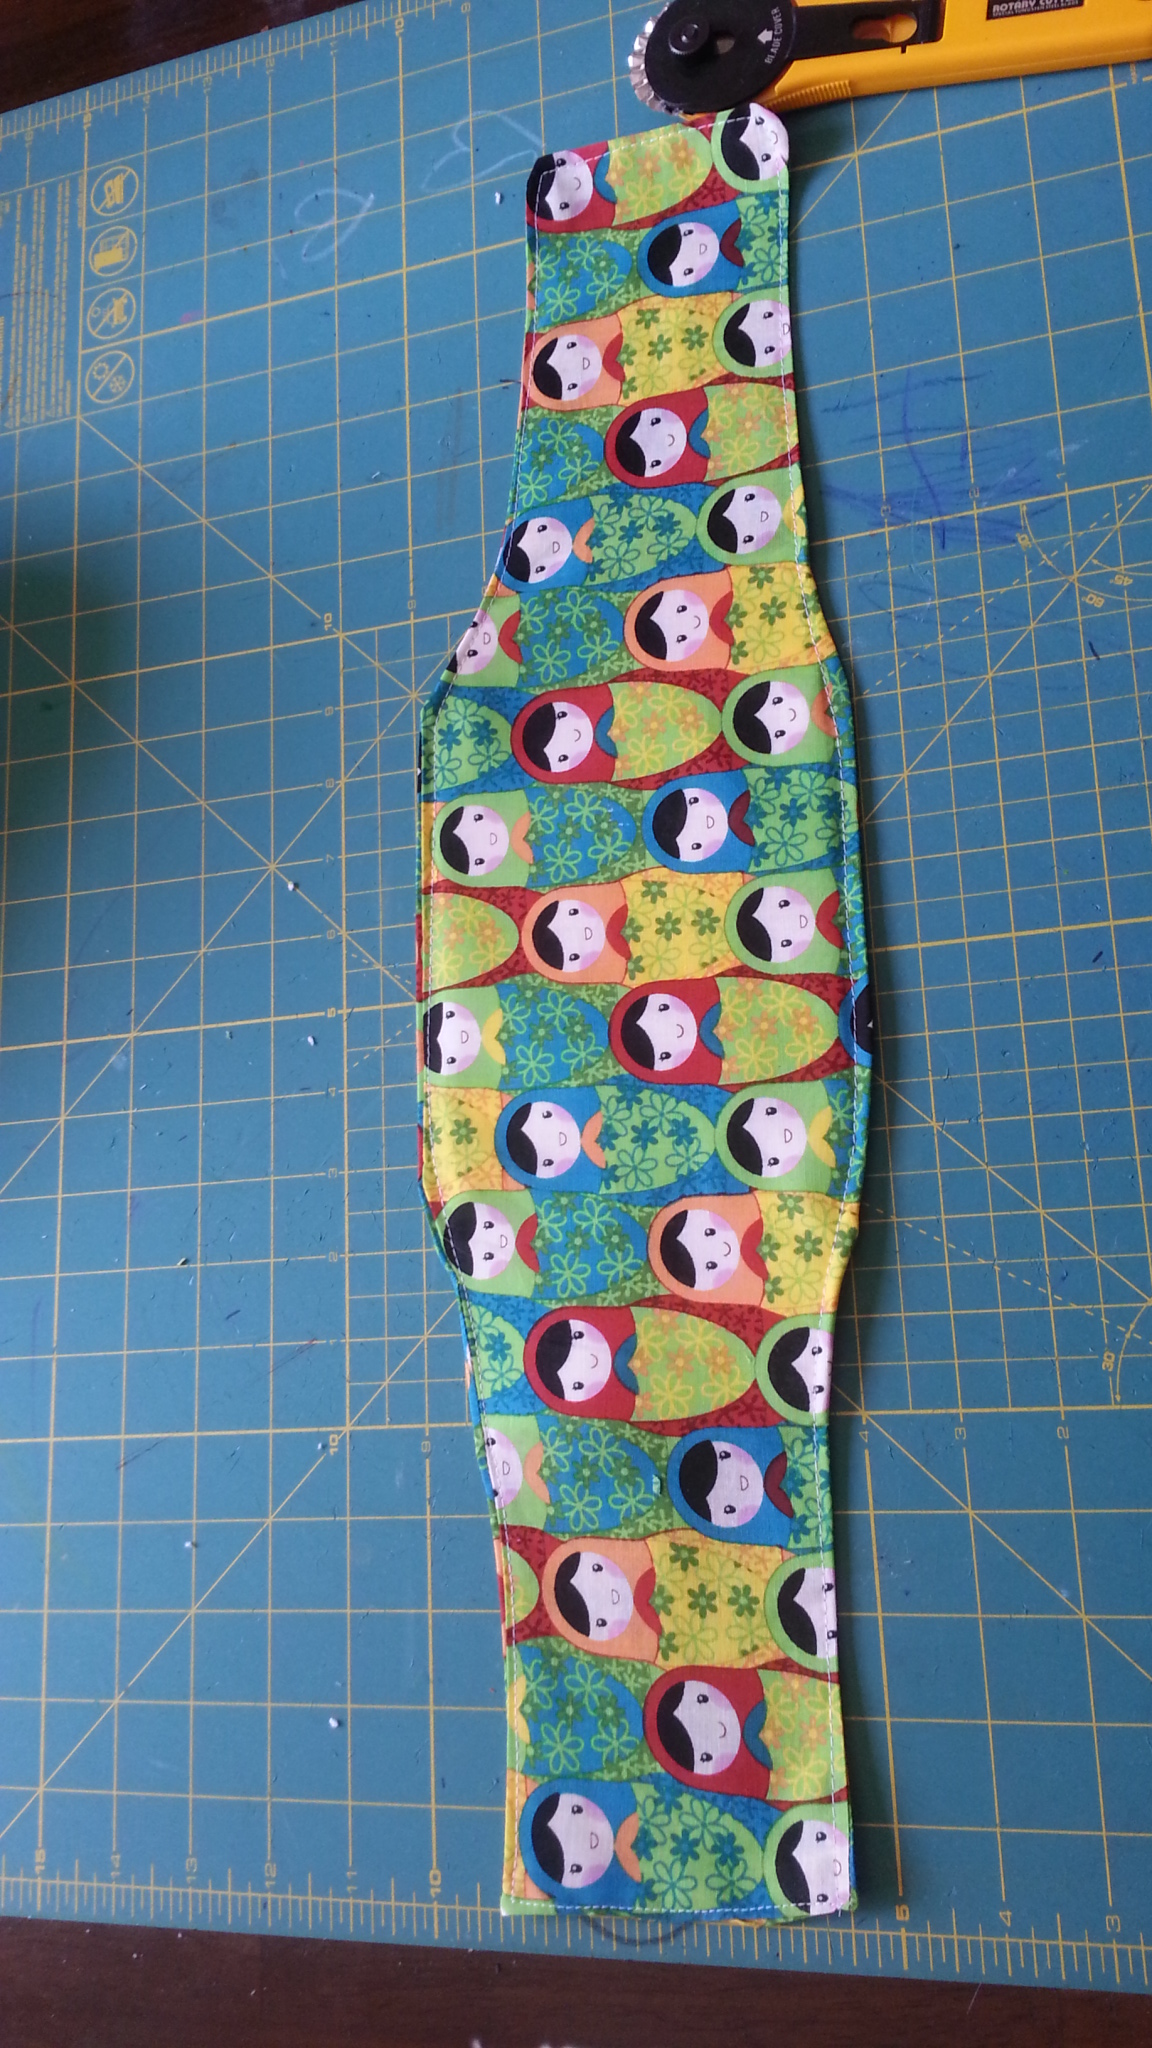
Iron the fabric out flat and smooth and then make a small cut to shape the fabric. Fold the fabric in half and make 2 cuts down each side. You want to take it in a bit towards the straps leaving the wider part for the underbelly/private area. It does not need to be a drastic change, maybe a total of 1 inch from both sides.
Step 3:
Make a sammich but put the cheese on top. What I mean by that is put the cotton/fleece like sides together and then place the PUL fabric on top of one of the sides. Then sew around all edges but leave one of the strap ends open. (This is so you can flip it rightside out and your PUL fabric will be sammiched inside the cotton/fleece.) Make sure to catch the corners of your PUL when you do this step to help hold it in place when you flip it out.

Step 4:
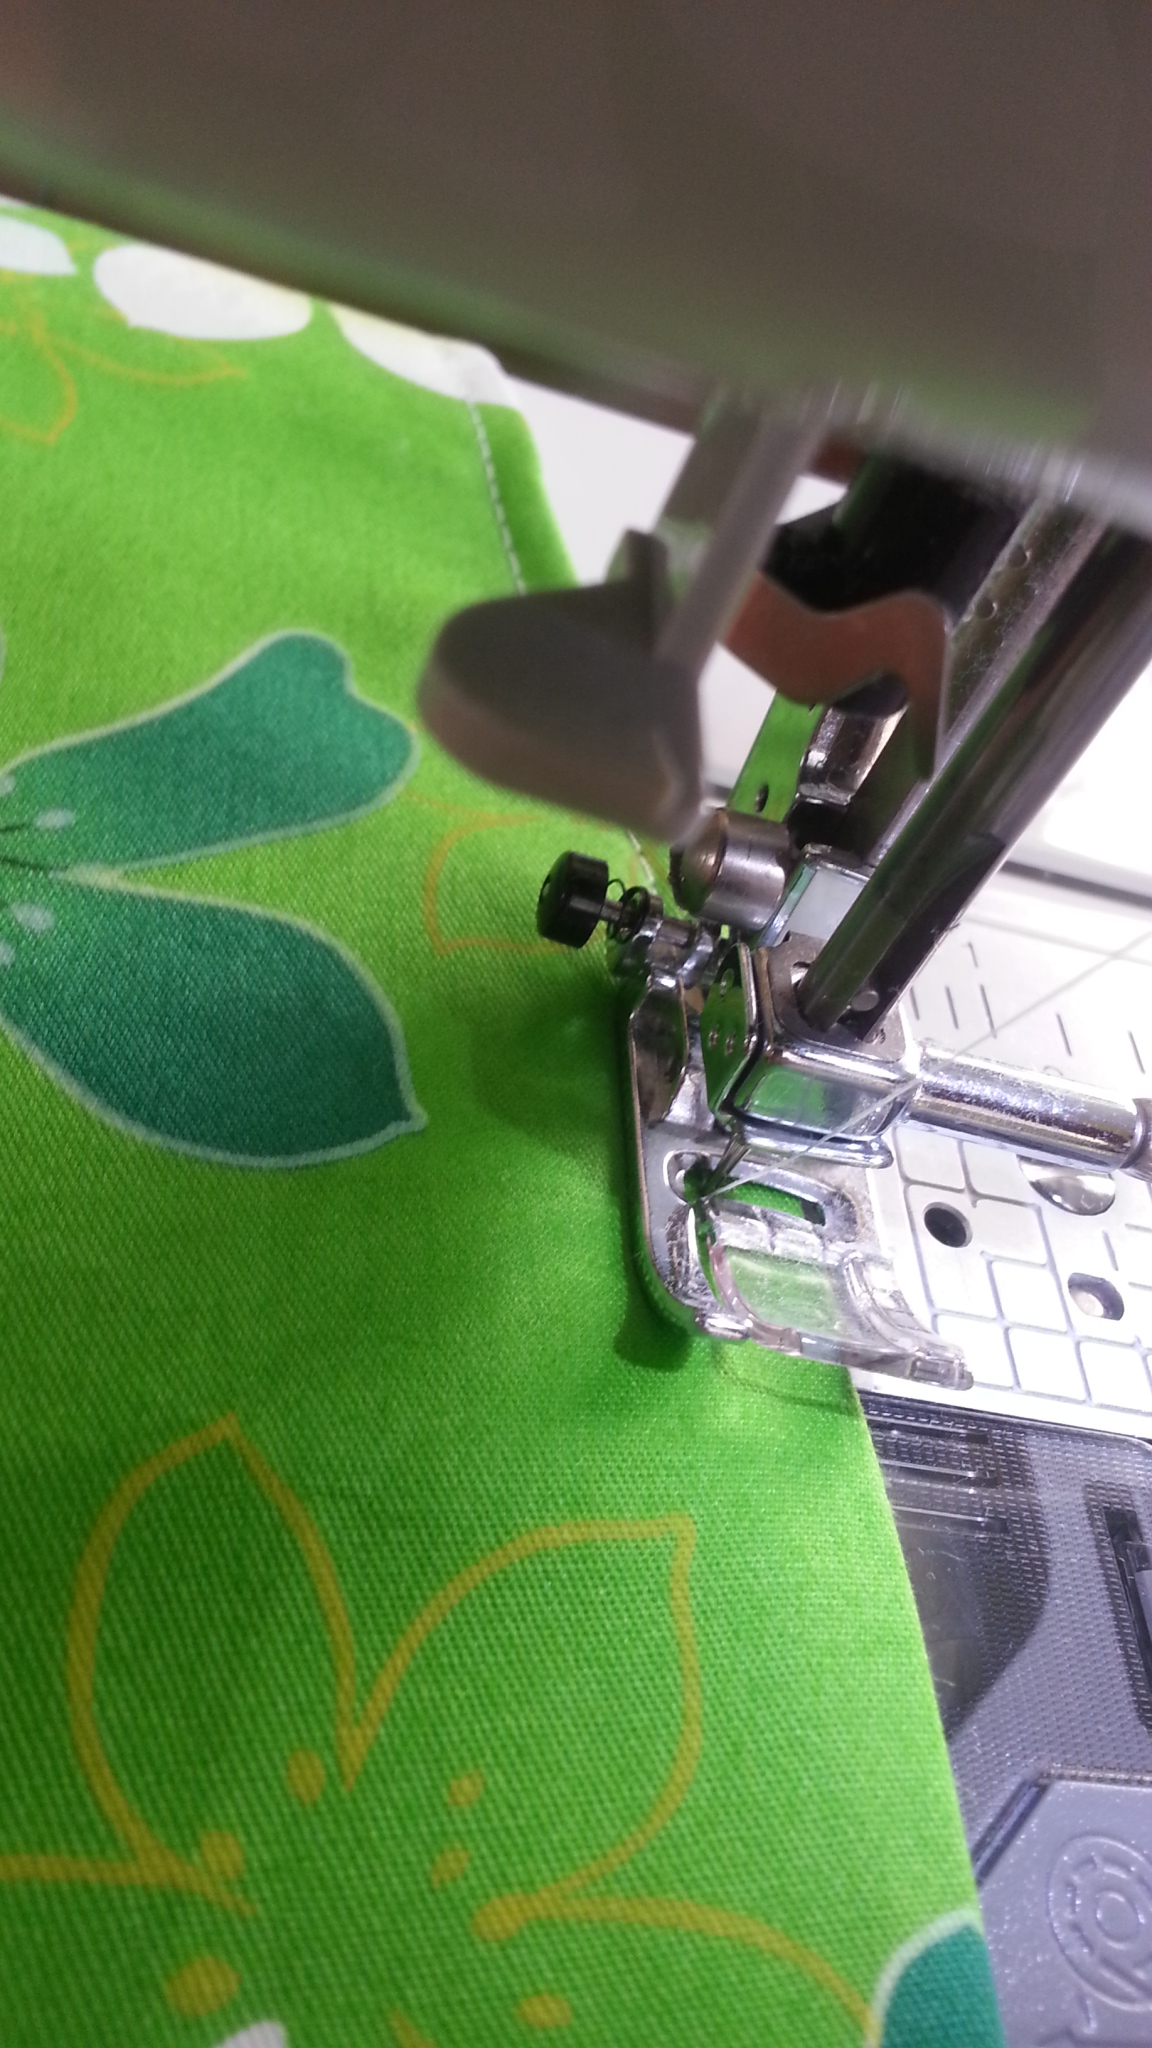
Iron it down nice and flat and smooth. Tuck in the sides of that free end you left open and iron it down flat. Then take it back over to your machine and do a topstich around the edge of the entire piece. The topstich should be about 1/4 of an inch away from the sides and be sure to catch your PUL fabric once again, to help secure it between the layers. You don’t want it to come free and bunch up later after a wash et

Step 5:
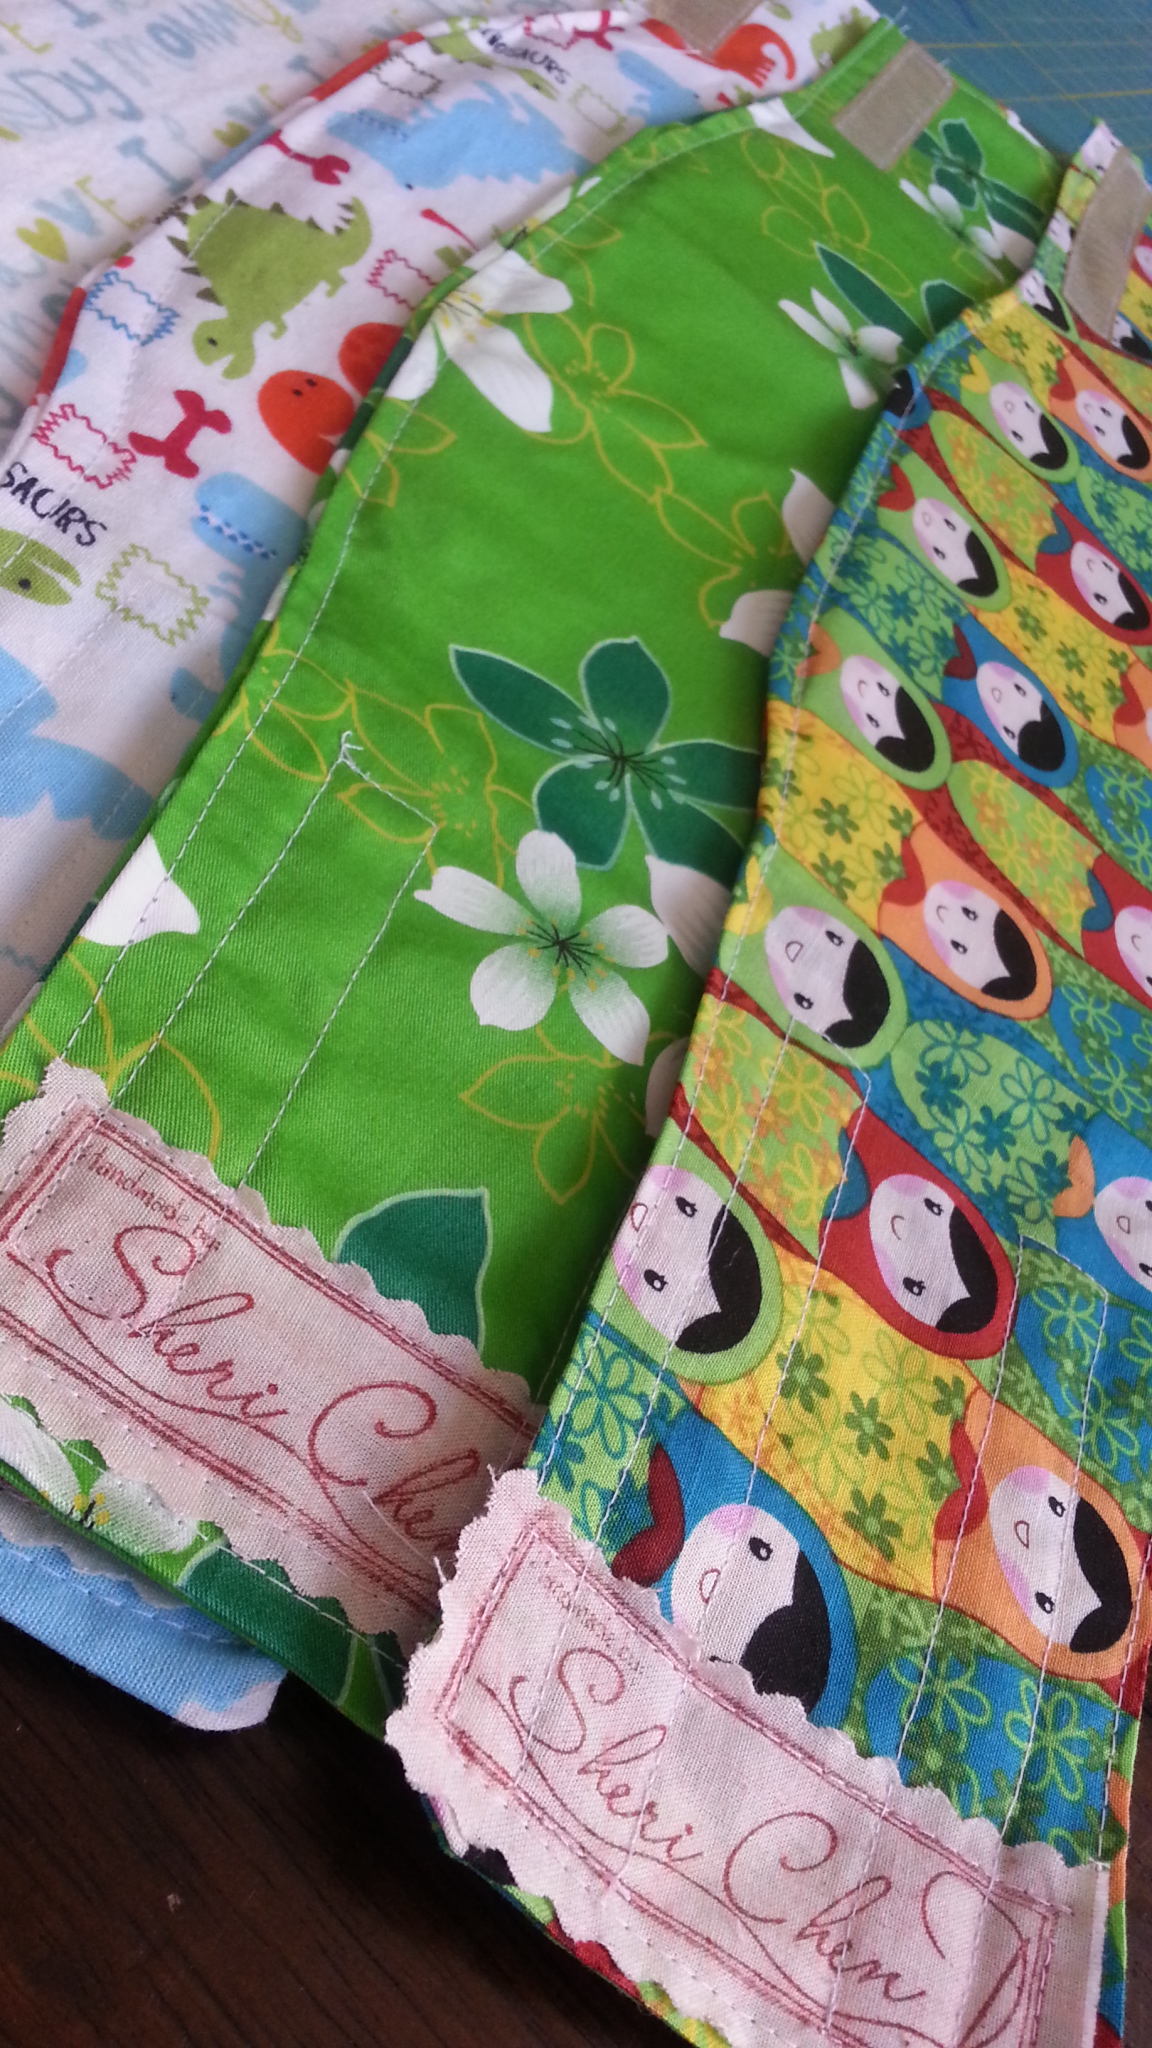
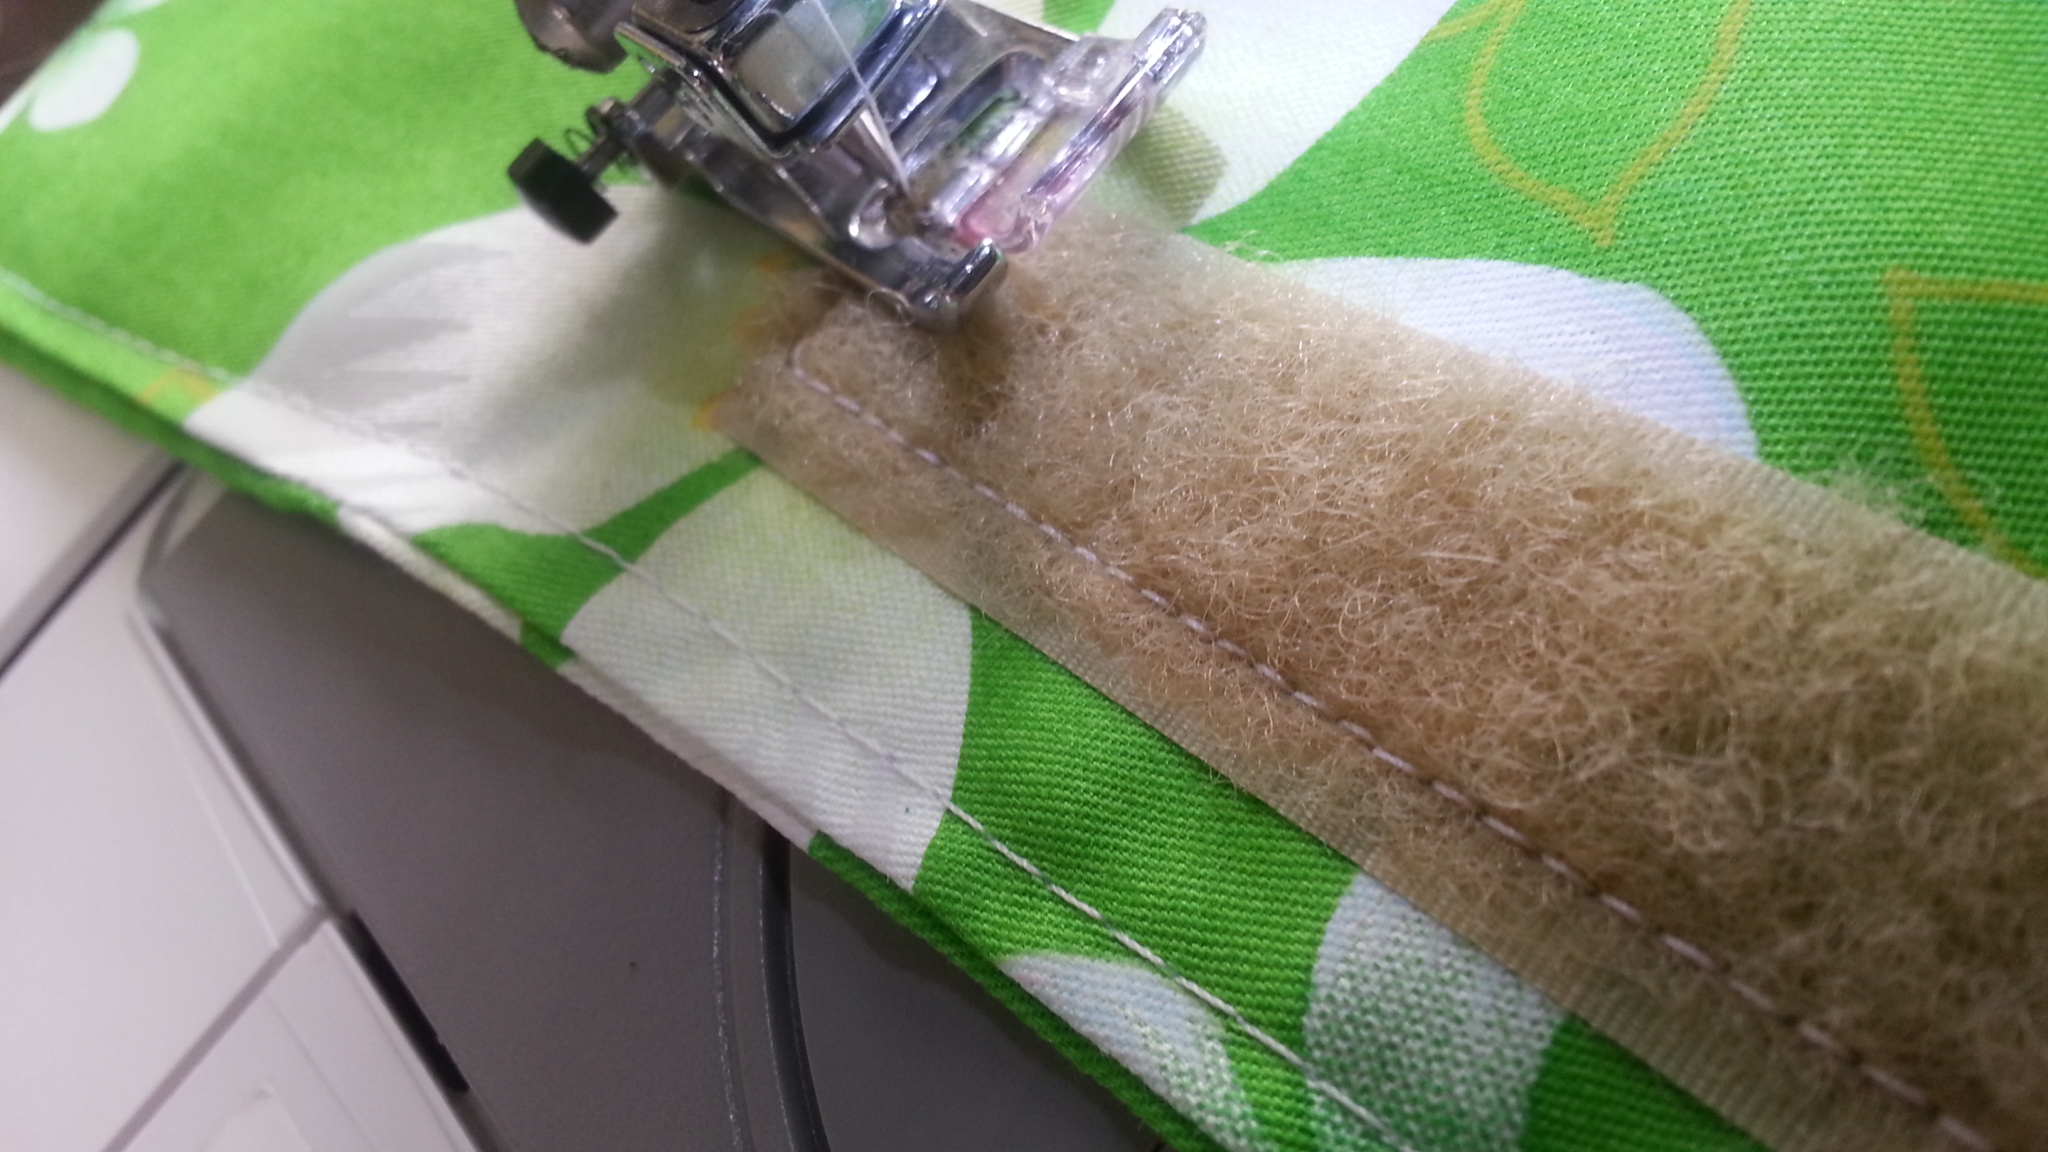
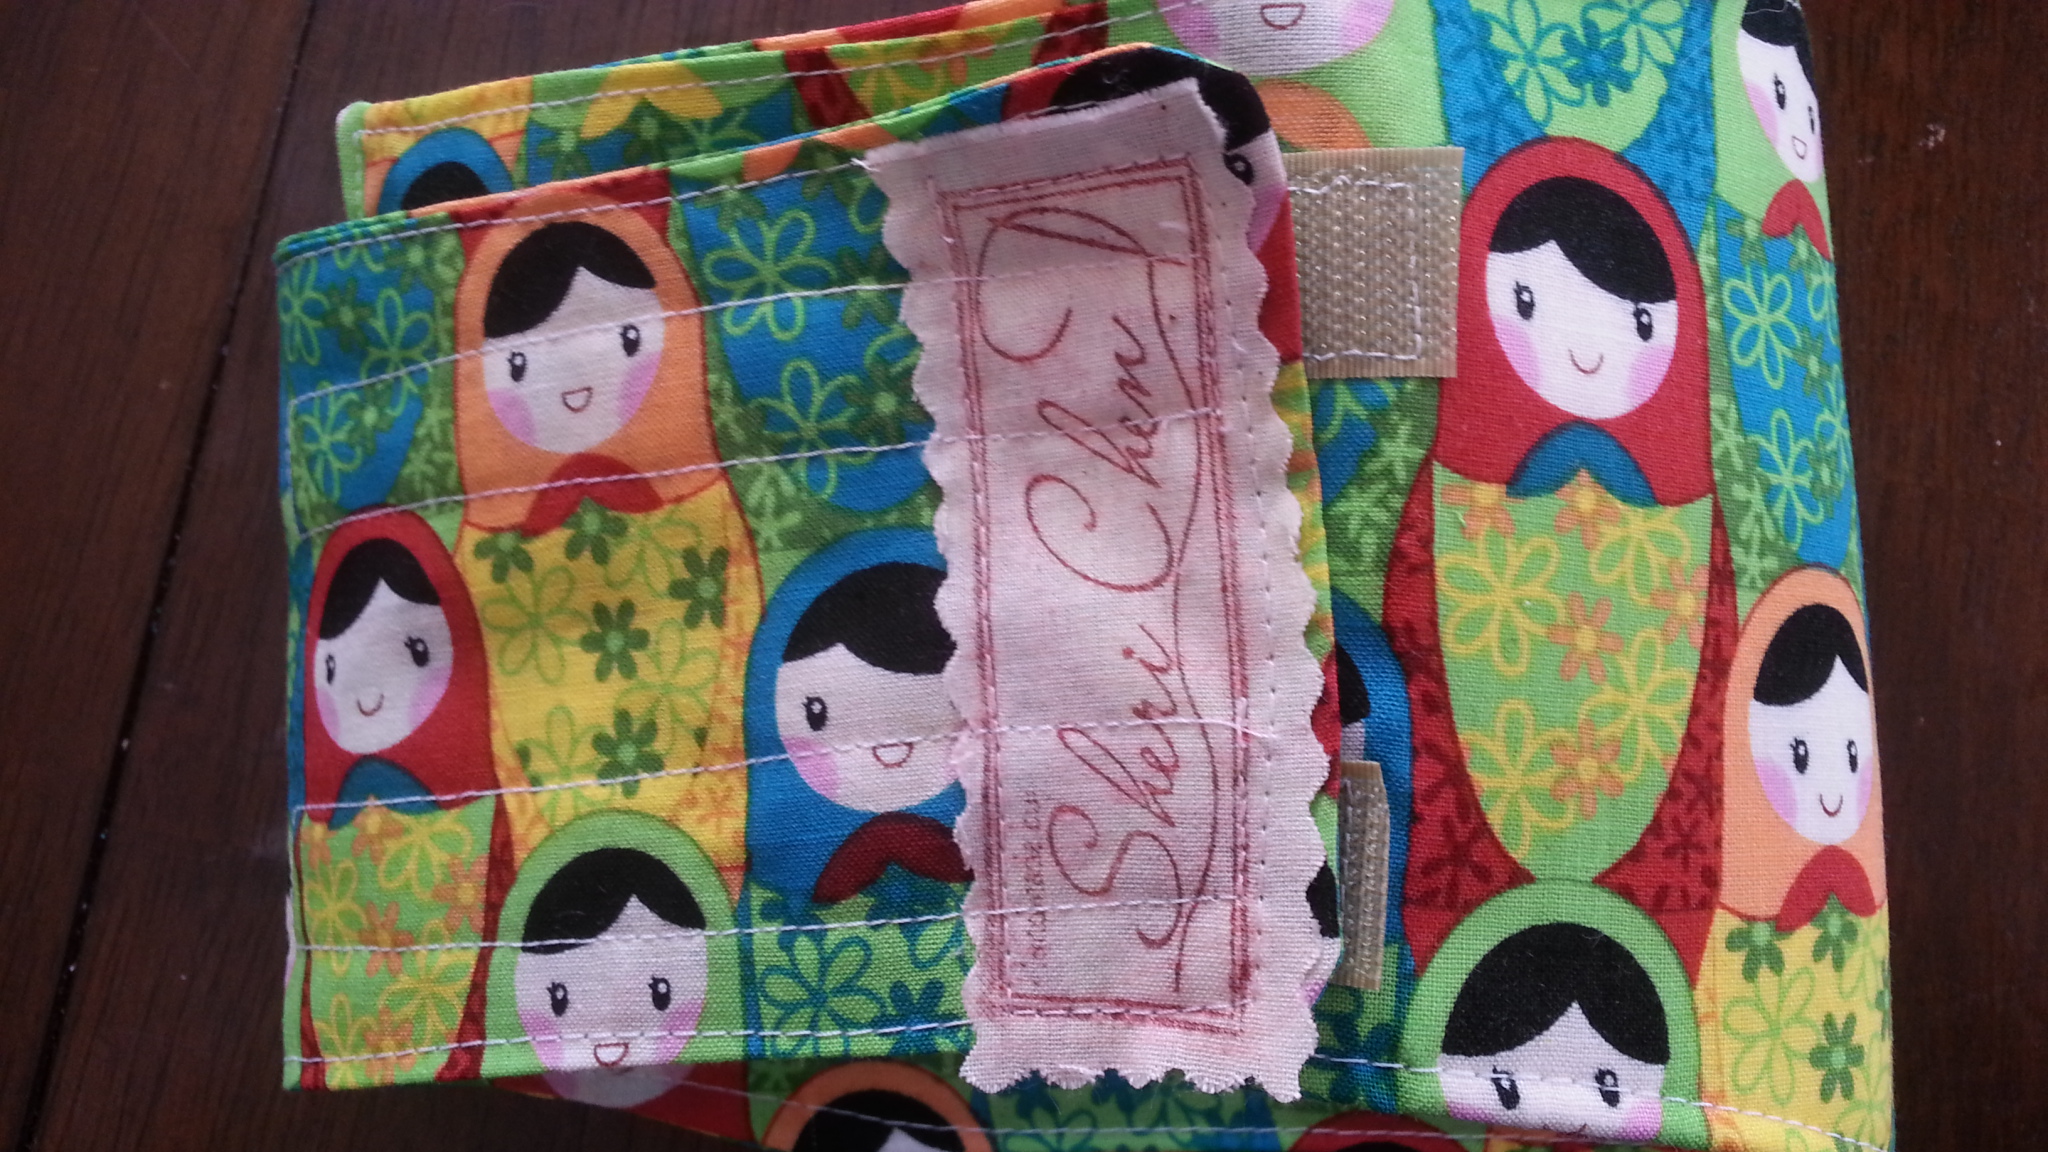
Add your label and add your velcro. A tip for the velcro, on the TOP side, put the softer side of the velcro. Put the rougher sided velcro on the inner piece. That is so the scratchy side will always be up and away from poochie so he won’t get scratched/itchy from the velcro. Only the soft side will ever touch his skin. Remember to put the soft velcro on one side of the strap and the scratchy on the other side so they meet together and fasten properly.
Step 6:
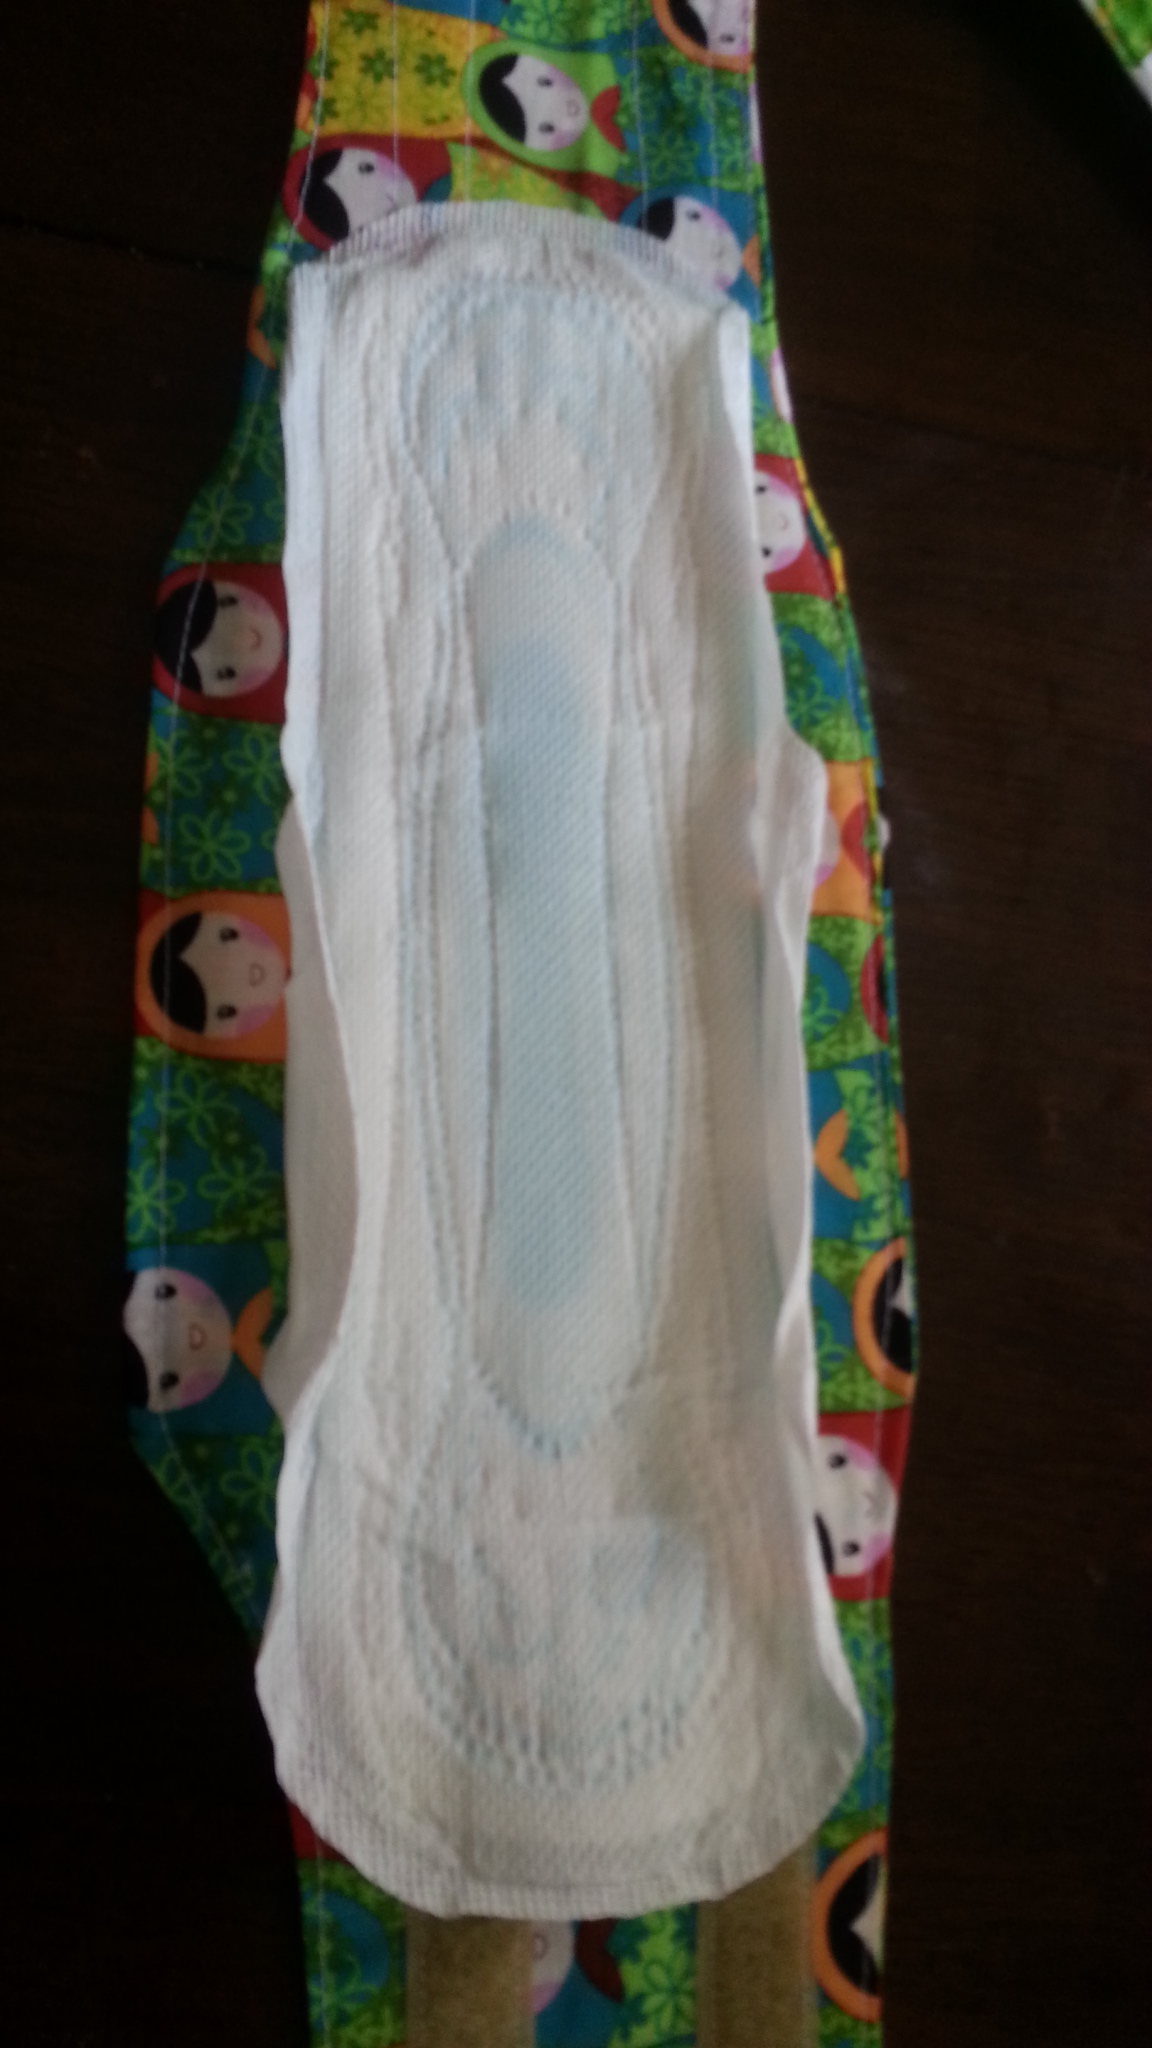
This particular version of a belly band utilizes a womans maxi pad on the inner/underside to catch any pee that Mr. Doggie might release. If that is not what you want, you can sew a soft layer of wool/fleece where the maxi pad would go and you would have yourself a remove and wash style belly band. It’s really preference. The wonderful lady who ordered these, preferred the maxi style because she doesn’t like doing 15 loads of laundry a day.
And that’s it folks! Only 6 easy steps to having a pee free home!
I hope you have enjoyed this free tutorial!
Coming soon….
BOARD SHORTS PARTY DOWN!

